When you see the Northern Lights for the first time, they seem unreal. Almost magical, maybe even scary to some. The Aurora Borealis is one of the most spectacular natural phenomena you can observe and well worth a journey to the northern parts of the world.
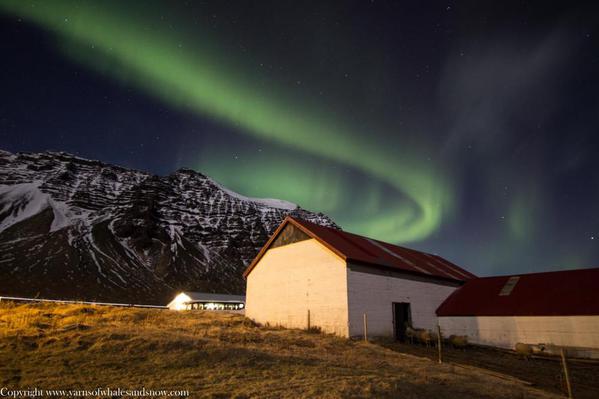
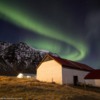
(Above: Northern Lights over Hali, South Iceland)
Though it's never guaranteed to see the Northern Lights, even when you travel to e.g. Greenland in the middle of winter, here are some tips that may help.
When & where to go
- The longer the nights are, the more likely it is to have good viewing conditions. It gets dark sooner and the darkness stays longer. On the other hand, the events in late autumn and early spring are said to be stronger. The lights are always there, even in summer, but then the northern nights are too bright to see them. Thus, the Northern Lights season lasts from September/October to March/April.
- The stronger the solar wind is, the farther south the Northern Lights can be seen. This means: The farther north you go, the better are the chances of viewing a beautiful aurora.
- Good viewing places are (northern) Scandinavia, Finland, Iceland, Greenland, northern Russia, Canada, and the northern states of the US. Extraordinary events can be seen as far south as Great Britain or Denmark. But it's not all about the latitude. Some areas tend to have more cloud cover than others, which of course reduces your chances of viewing the Northern Lights. While for example Iceland tends to be cloudy a lot, Minnesota is said to have far more clear nights. There's also a place in Greenland called Kangerlussuaq, where apparently 80-90% of all nights are cloudless. But don't tell anybody.
- When planning your trip, don't rely solely on the Northern Lights experience. Make sure there are other things you'd like to do and see, so you won't be too disappointed when there's no show in the sky. But that shouldn't be a problem at all considering the destinations in question...
How to not sleep or watch TV when the sky is green
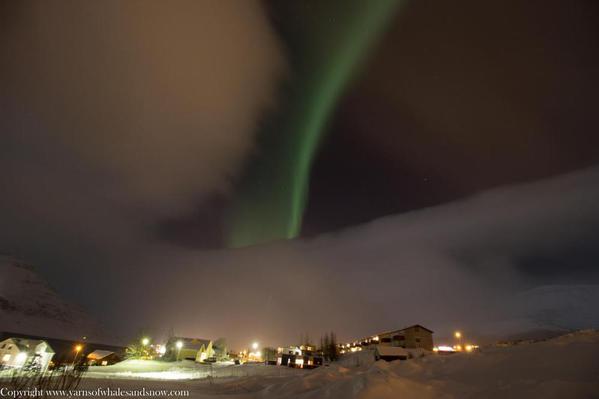
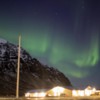
Northern Lights over ReyÐarfjÖrÐur
- Download a Northern Lights app and set an alarm. Those apps estimate the chances based on the sun's activity. It's good to know when to look out of the window. The website www.spaceweather.com gives a detailed forecast on viewing conditions around the world and additionally, it provides some very interesting background information. On, Twitter, Aurora_Alerts is worth a look. Check the forecasts more than once every evening, but don't rely on it.
- Check regularly when the conditions are promising (clear skies and strong sun activity) and don't be lazy. Set an alarm clock, get out of bed in the middle of the night. Yes, you're tired and the bed is warm and cosy and it's really cold outside... but get up, go out, it's worth it!
- Some accommodations offer a Northern Lights wake up service for their guests. Well, word has it that they sometimes make fun of tourists calling them at 3 am (“The lights were there, just two minutes ago. I saw them, I swear!&rdquo
 .
.
What else can I do?
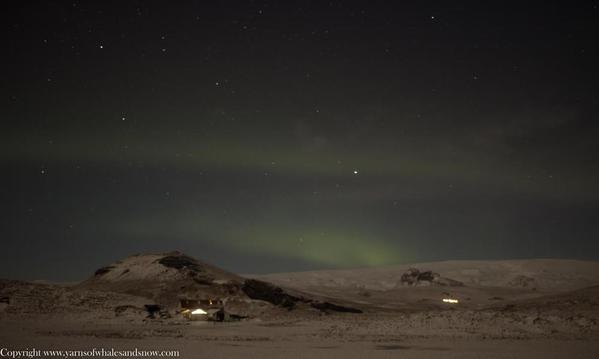
Those were only visible on camera
- When choosing an accommodation, try to get as far out in the open as possible. Get out of the city, make sure to have an open view to the north. A room with a northward window is great, too, so you won't have to leave the building when checking. If the weather allows, drive in the open country where the night is darkest.
- Have a look at the moon phases. A full moon makes it difficult to see weak lights.
- If you own a camera, take some pictures with long exposures facing north. Sometimes, your camera can see the lights before you can. And give your eyes some time to adjust to the darkness.
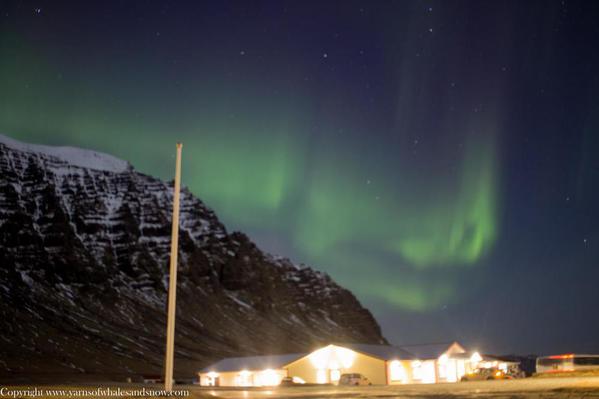
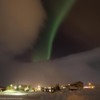
Taking pictures of the Northern Lights to remember that special night.
- Use a tripod. You can't make a decent Northern Lights Photo without a tripod.
- Use live view if your camera supports it.
- Use a strong wide angle lens. That doesn't mean you have to buy some extraordinary equipment. The photos in this article were shot with a f5.0 lense.
- Set ISO to 800-1600, depending on your lens and the conditions (800 is enough when the moon's out).
- Focus to infinity. Check regularly.
- Set the shutter speed to 15s-25s. With more than 30s, you'll most likely have blurry stars (because of the earth's rotation).
- Use a remote control or an automatic release. If you release manually, you'll most likely end up with a blurred photo.
- Try those settings before you go out watching the lights. You don't want to think about your camera settings when the sky colors. This video is quite helpful.
- Bring some additional batteries. The cold air will empty your cells really fast.
- Do never ever walk into someone else's photo.
- And most important, look up! Don't spend this special opportunity playing with your camera all the time.
Good luck!
Original blog post: www.yarnsofwhalesandsnow.com
Twitter: @YarnSoWas

Comments (5)